[ad_1]
![]()
Today we will discuss on how to replace the battery in the Savi 8210 AND the 8200 wireless headsets. It is really important to mention that even if both headsets share almost the same underpinnings and same technology, both headsets require different batteries and for the untrained eye can be frustrating ordering and then trying to get the battery in and turns that it doesn’t fit and it is really important to order the proper one as per manufacturer’s policy batteries are considered accessories and for same reason they have a no return policy, so lets keep reading in order to determine which battery you need and how to replace it.
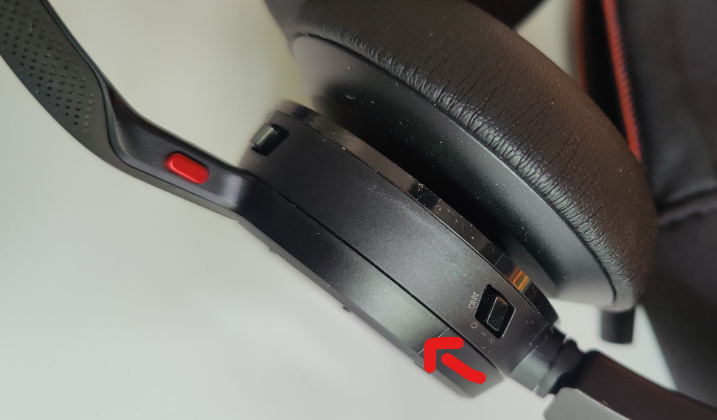
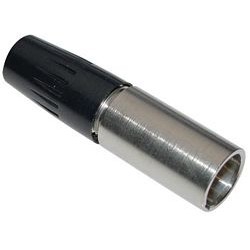
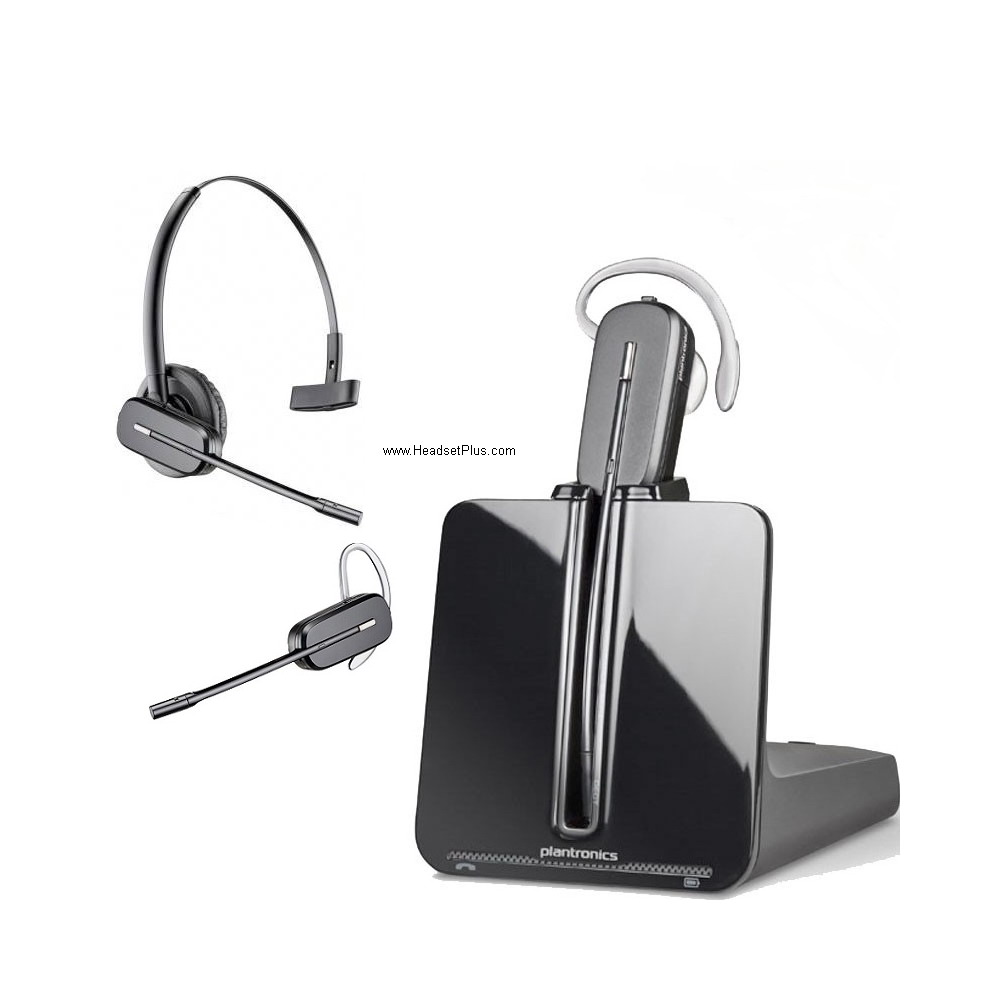
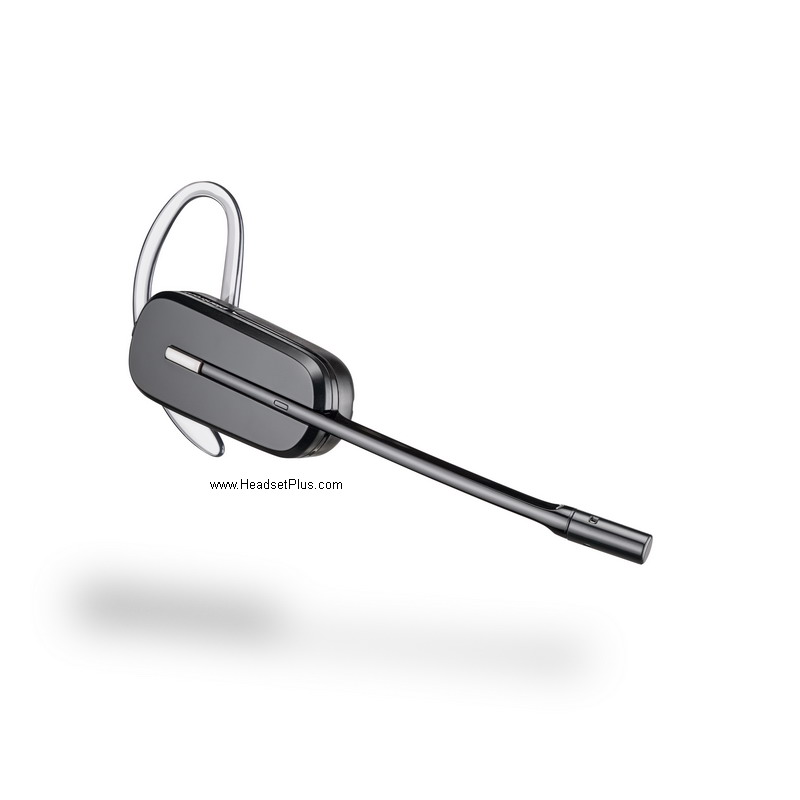
The best way to identify the Savi 8210 is by the headset, not by the base code as it is shared with the sibling. The Savi 8210 covers only one ear and it will have a rectangular paddling on one of the sides.
 people they can think that the battery is located in the ear cup, but is not. The battery actually is located inside the rectangular paddling on the opposite side, WOW. First we remove the leatherette paddling with your fingers, nothing to be worried as it’s designed to come off. You will notice the screws that keeps the cover of the battery, we are going to remove them by using the removing tool that is included with the battery, if you don’t have one you can use a size PH00 screwdriver, it can be a little confusing and for the same recommended not to loose it. You then remove the old battery and unplug it from the connector, follow this you plug the new battery in the connector, then place the battery back in, making sure that the connector cord
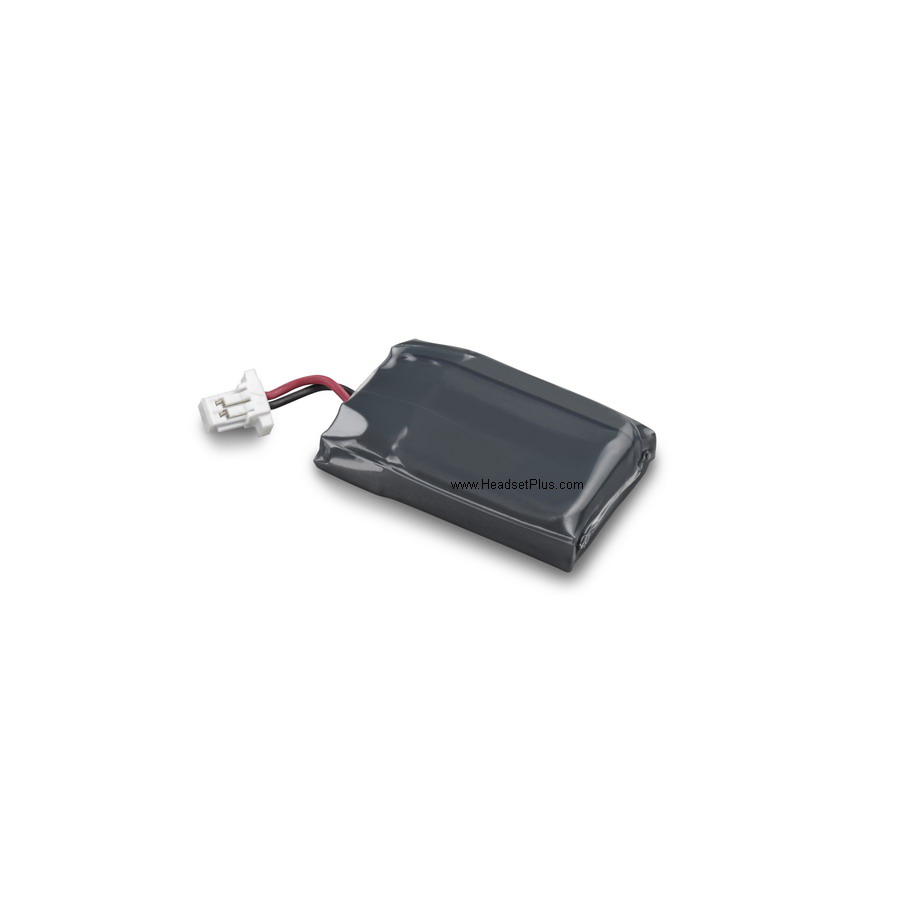
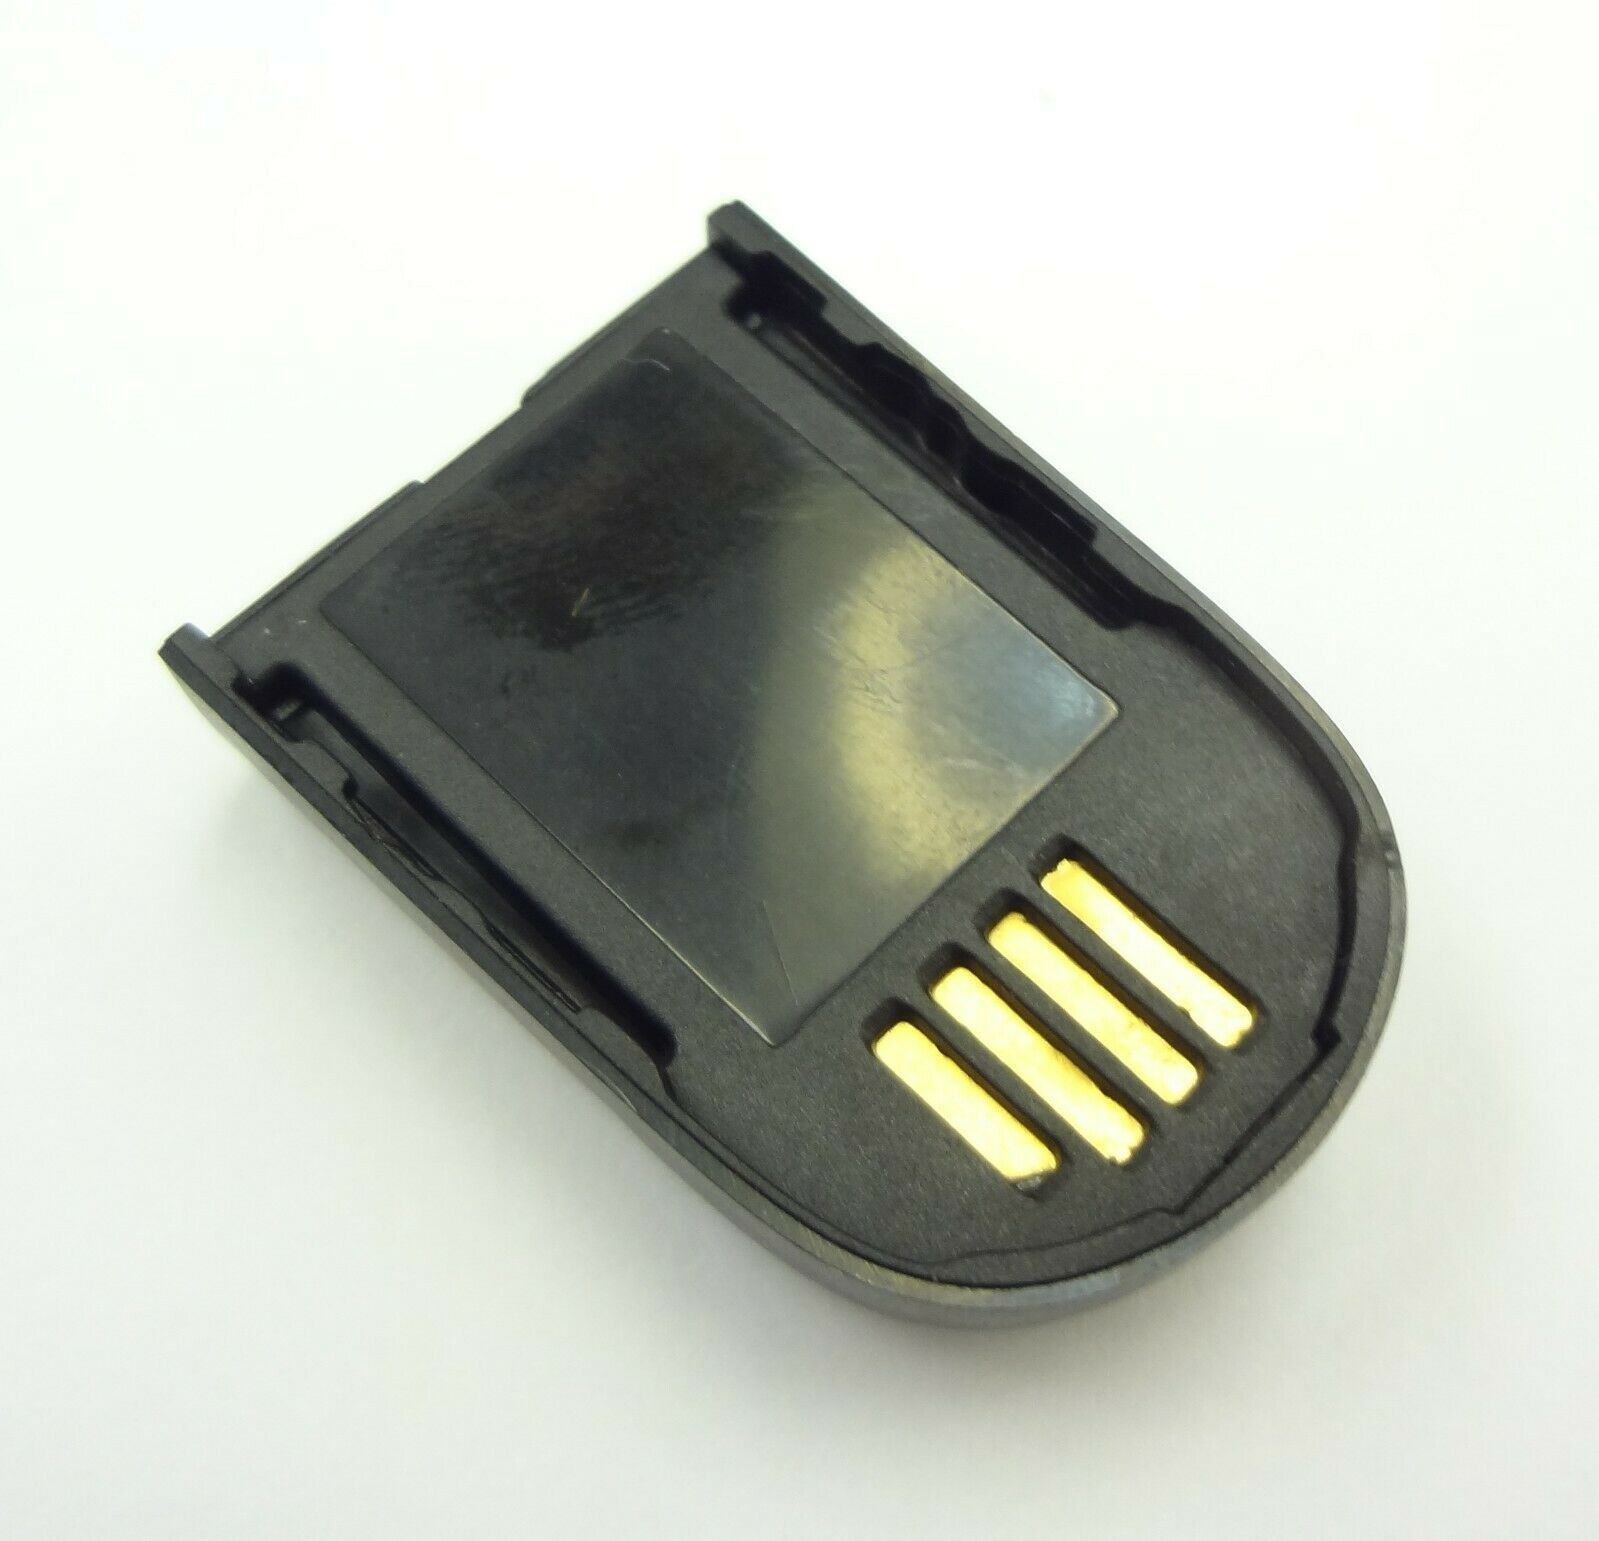
 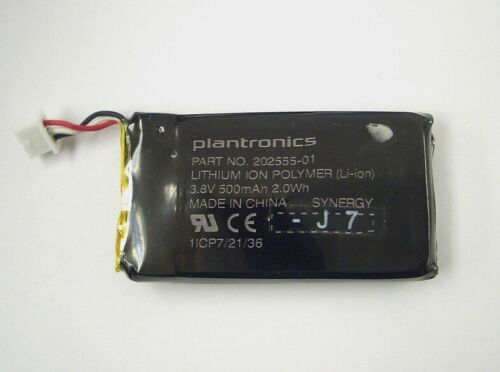 gets in as well, the place the cover back on, followed by screwing the screws back in and then the paddling and Voila! You had just replaced your Savi 8210 battery. Get your Plantronics Savi 8210 8210-M Replacement Battery w/removal tool HERE. As you can see by the picture the battery is rectangular and not square.
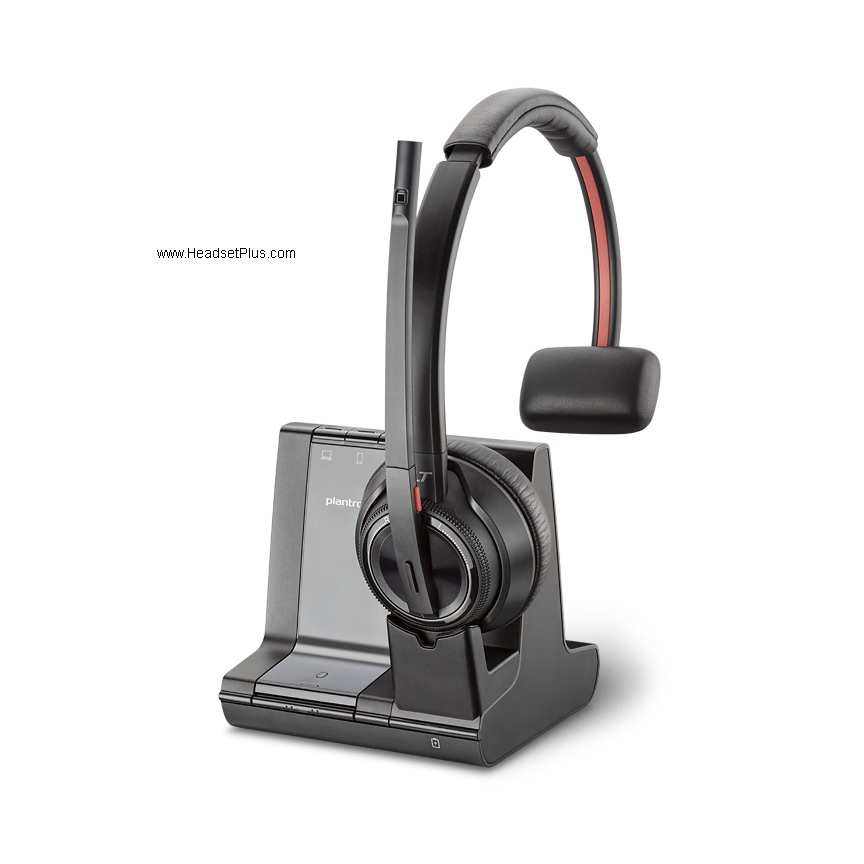
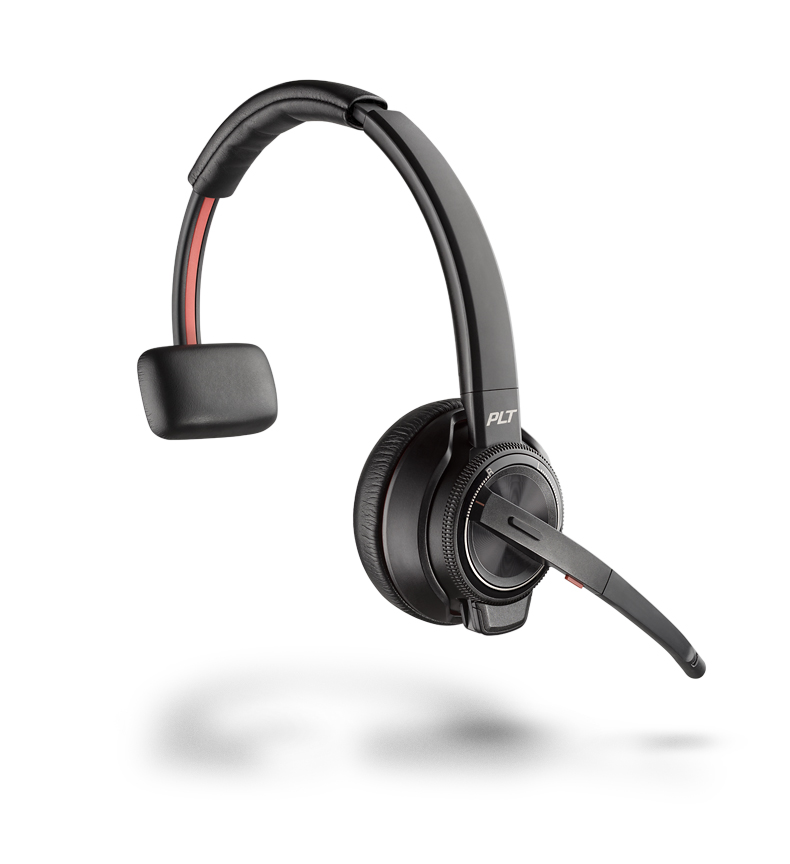
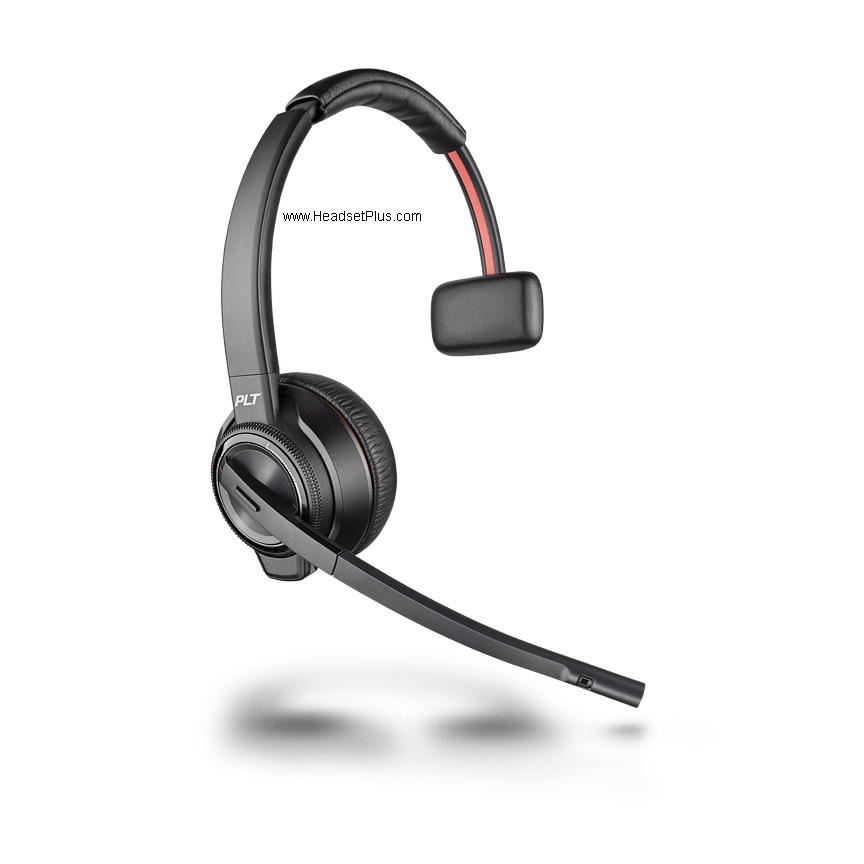
Plantronics Savi 8220 Wireless Headset Binaural Savi 8200 series

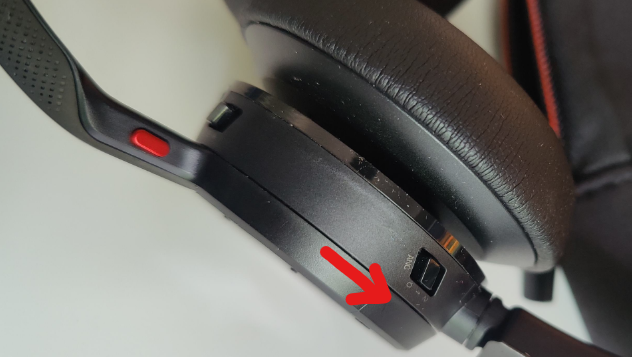
Now we are going to make sure your headset is a Savi 8220, the headset will cover both ears, you will have 2 speakers with ear cushions and you will have the Active Nosie Canceling (ANC) feature. For the same reason that this headset requires a little more of power the battery will be found in the ear cup opposite where the microphone boom arm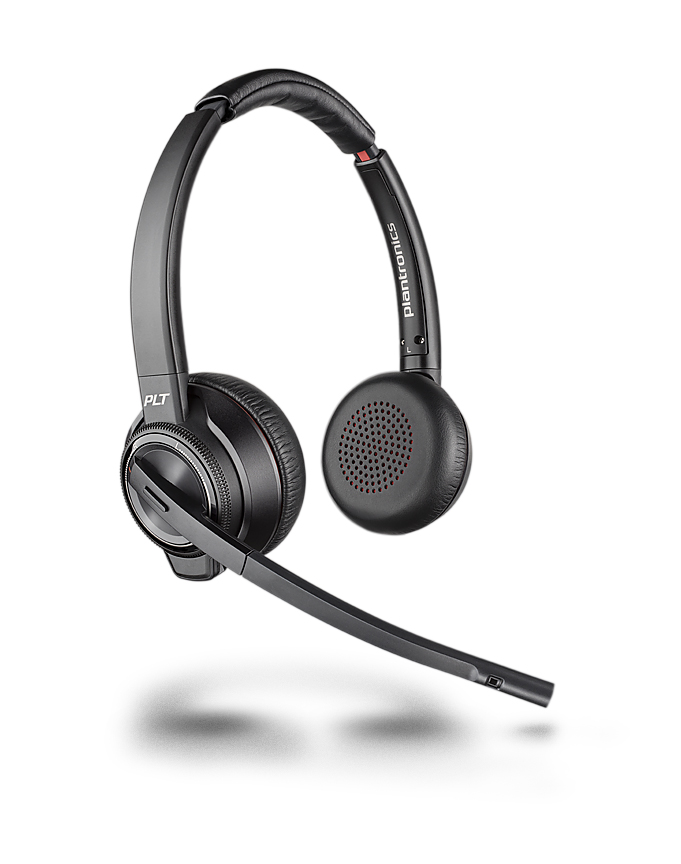 is located, to make it easier to locate is where the ANC key is located. First you have to press the plastic cover against the headset and twist counterclockwise to remove it from the headset, this will show you the battery cover and you will be able to see the screws that lock it. Using the removal tool included in the battery, remove the screws and take out the cover. Disconnect the small white connector that attached to the battery and now you can remove the battery from the headset, put the new battery in and connect it as well, making sure that connects all the way in and then place the cover verifying that the cable connectors stay inside and then put the screws back and now we are going to place the plastic cover that we took out
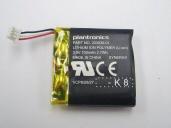 first by pressing against the headset and you are done! You had replaced your Savi 8220 battery, get your Plantronics Savi 8220 8220-M Replacement Battery w/removal tool HERE. As you can see in this picture, this battery should be a square as it is the size of the ear cup.
[ad_2]
Source link


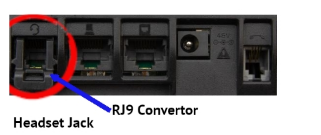


 Another option now in the market comes from Jabra, The new
  any USB headset (corded or wireless) from Jabra to work with your desk phone and your computer if needed, compatible with Jabra EHS cables, that allows you to remote answer your desk phone makes the Jabra Link 950 one nice option for your Jabra USB corded or wireless headsets.
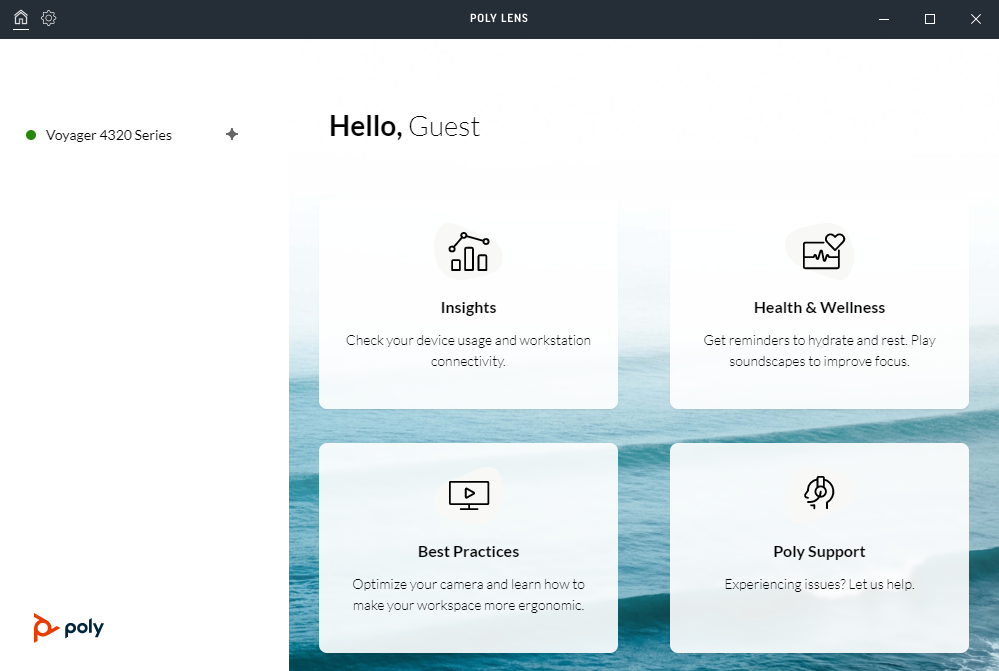
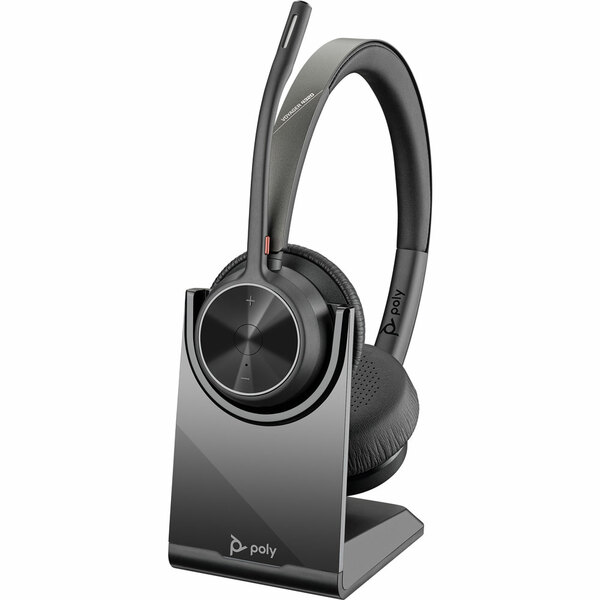 microphone boom arm , with 2 microphones facing the user and one facing the outdoor, with an amazing battery life of up to 24 hours of talk time or 47 of listening. An improved range of up to 164 feet, thanks to its Bluetooth Class 1 dongle and with a fast charging setup that allows you to have a fully charge in about hour and half. The Voyager 4320 can be used as a corded headset as well, thanks to the included USB-C to USB-A cable, allowing the user to use it when either the dongle is not available or can’t use Bluetooth. You can use your Voyager 4320 with your desk phone as well by using the MDA 220, which will explain on how to setup next.
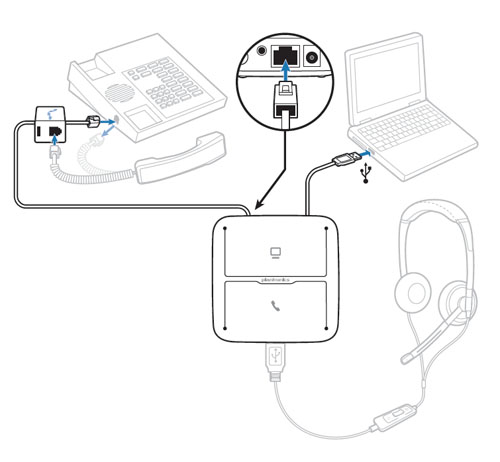


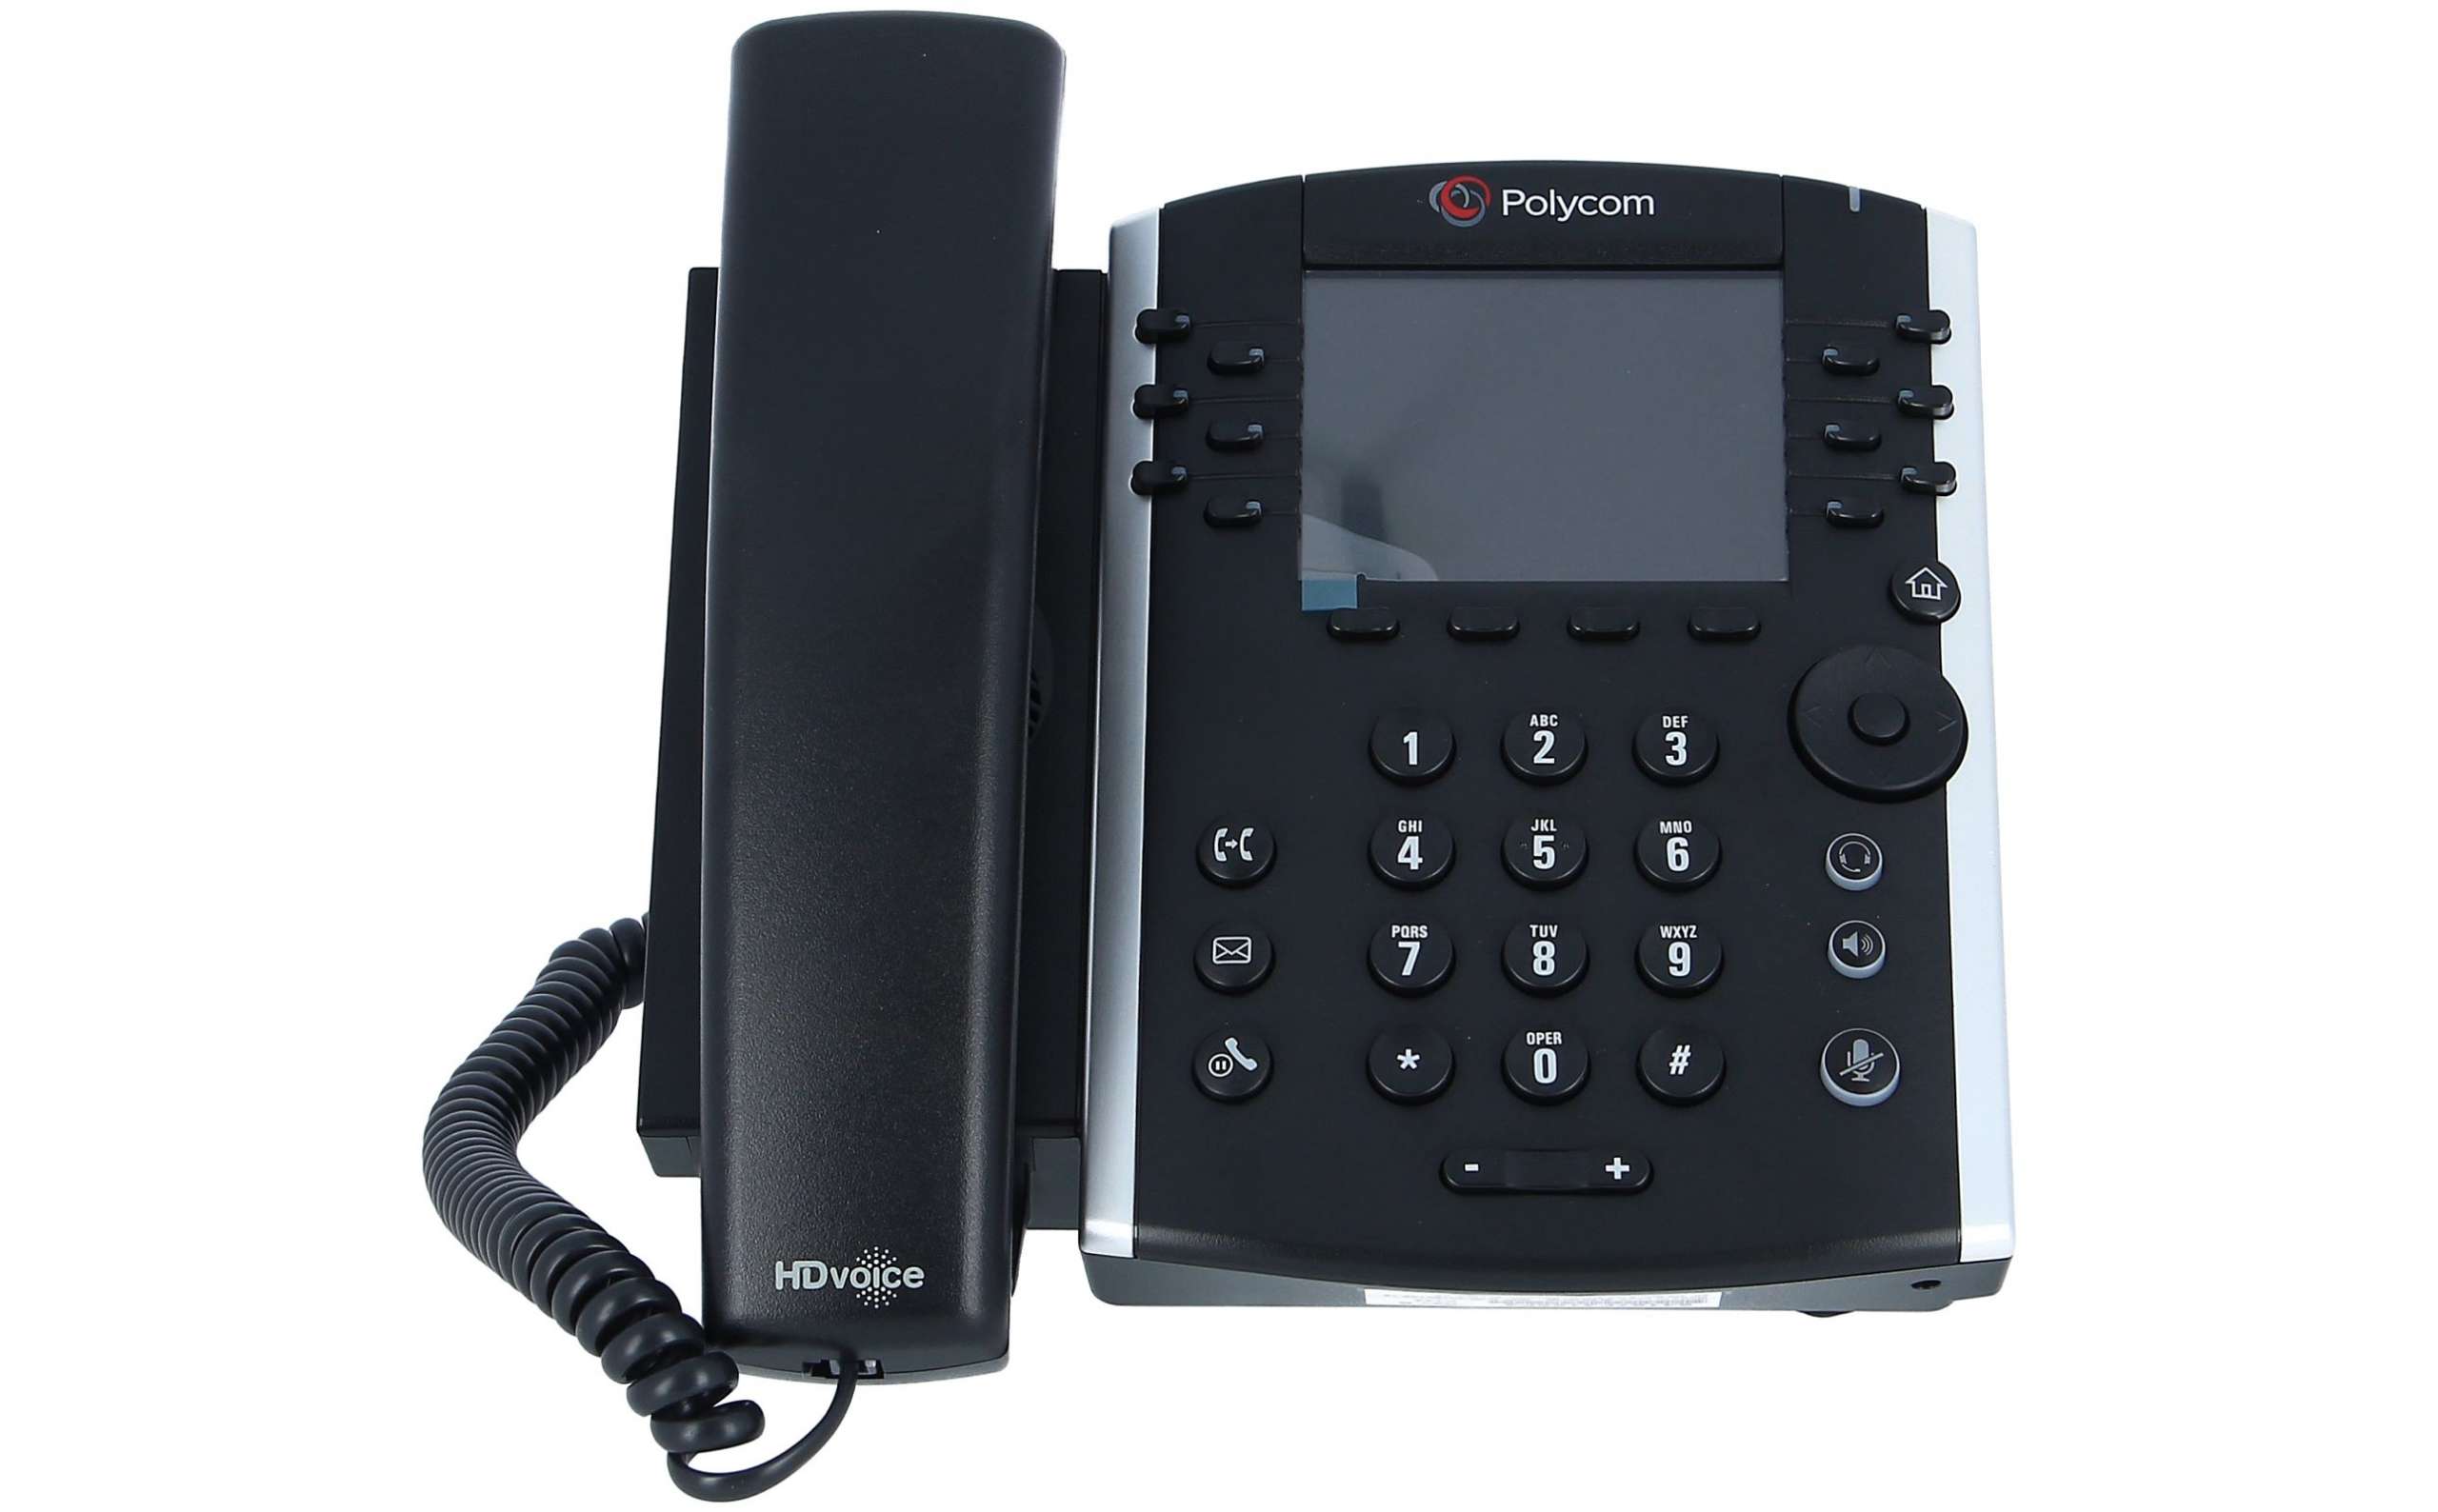
 Remove the battery of the headset. Depending on the
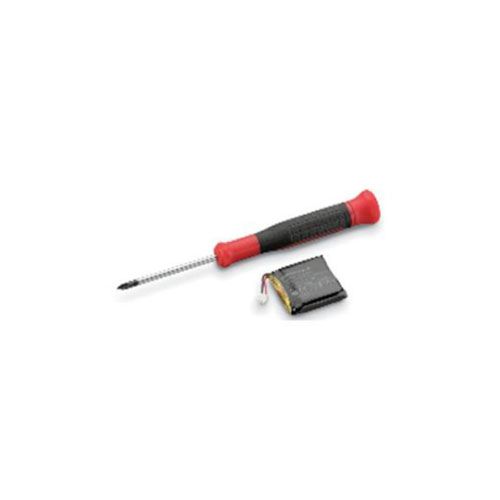 model some headsets have sealed batteries as the Unlimited talk headsets, another will need a special tool in order to remove the battery gate and then take the battery off.
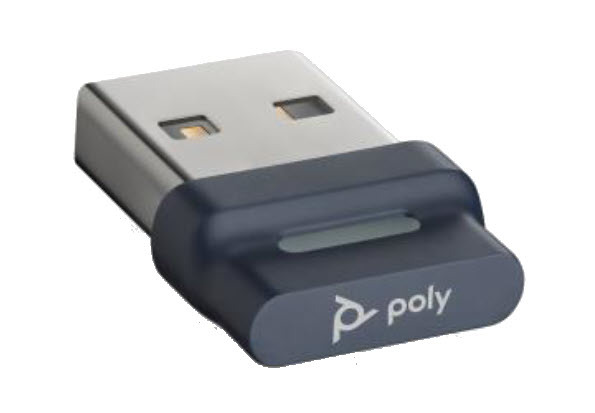 Dongle from the computer.